Read Our Reviews!

If you have tile floors or tile countertops, then you know grout appearance can either enhance the look of a room or do the exact opposite. It’s the difference between “beautiful” and “disgustingly embarrassing.” A source of pride or frustrating depending on one’s success (and understanding) regarding how to maintain these surfaces.
The grout between your tiles is the hallmark of surface hygiene. We know what you’re thinking. How can you possibly keep such a small (but vital) area clean without dropping to all fours with a toothbrush every other week?
There are many DIY hacks out there and blogs touting their own paths to Grout Nirvana. But here at MARBLELIFE, we employ only the most efficient and successful methods to care for these surfaces. Our recommendations are based on first understanding what is happening, what the root cause problem, and then engineering solutions and processes to address the real problem versus the perceived problem.
Step 1: Get The Right Cleaner While there is certainly something to be said for technique, the right materials often determine the success of a job. Many generic tile and grout cleaners contain acid or acidic components, which can damage the color and durability of your grout. When “clean” is based on keeping dirt on top of the grout, then cleaning with a cleaner that will damage the seal and allow dirt to enter the grout surface is not very helpful, but will simply create downstream cost and frustration.
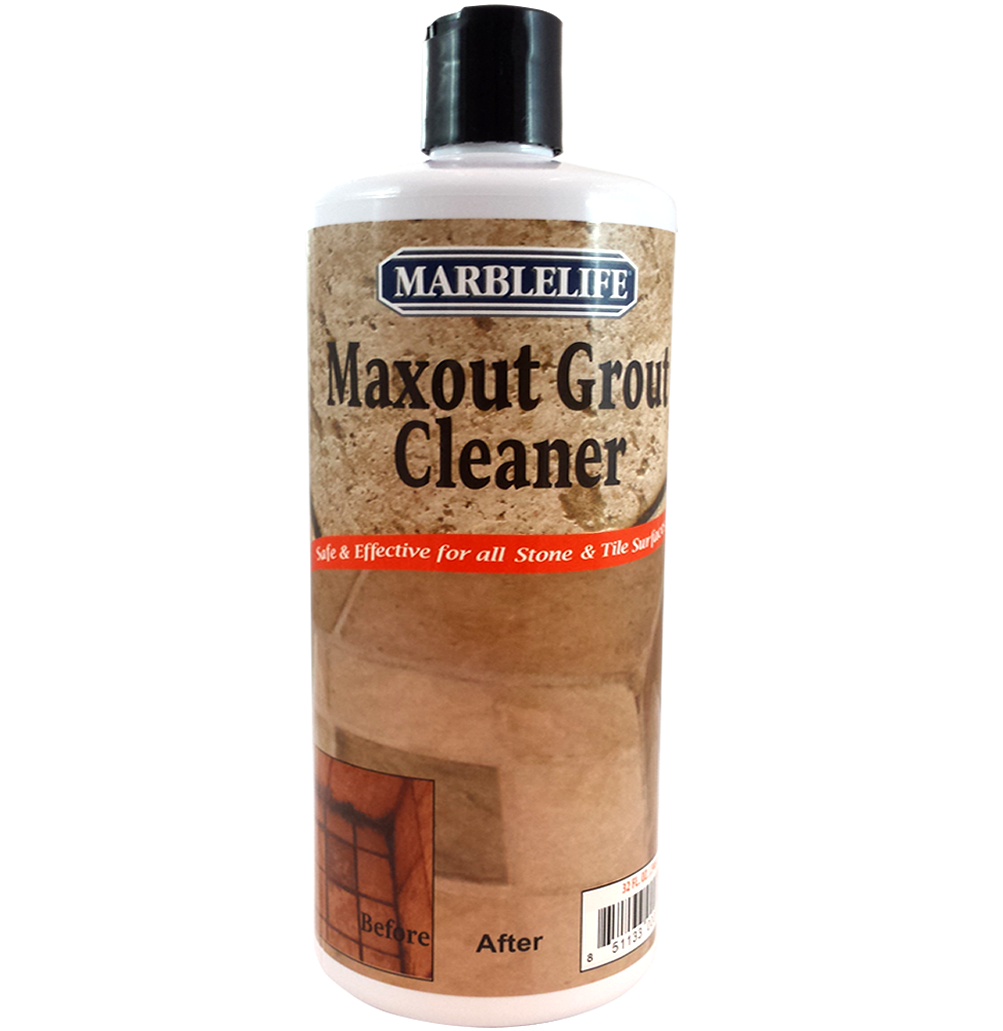
So, first you should get your hands on a quality cleaner like MARBLELIFE’s Tile & Grout Cleaner and MaxOut Grout Cleaner. Acid-free, easy to use, these cleaners have repeatedly demonstrated success over time.
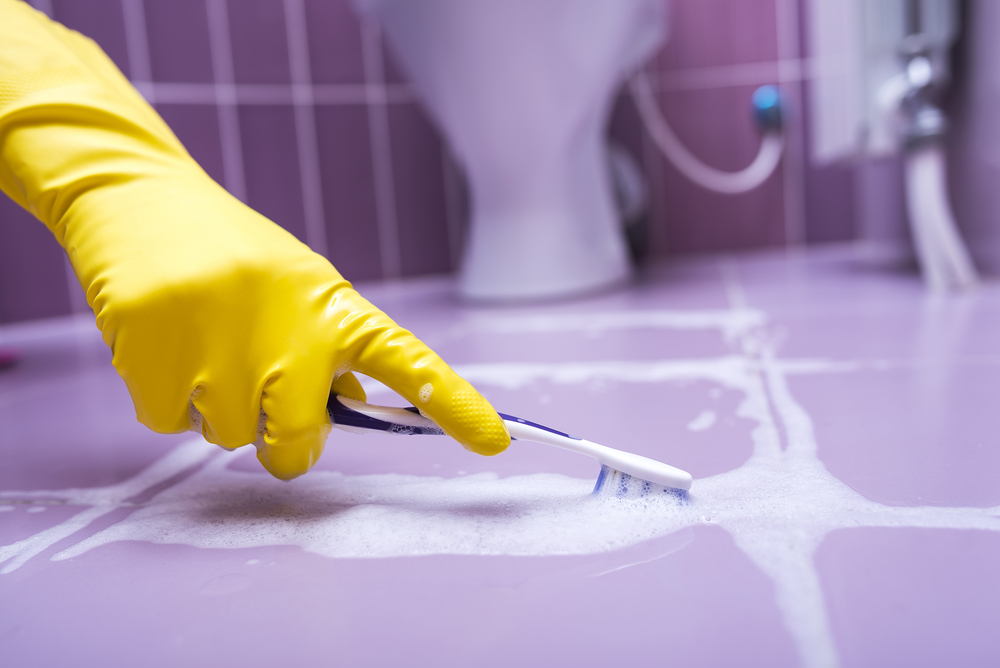
Step 2: Start Cleaning With MaxOut cleaner, all you must do is apply the cleaner to the grout and brush using a hard bristle toothbrush, wallpaper brush, or long handle floor brush. The suds will darken as you work, this means it’s doing its job by extracting debris and grime. There is something to be said for actually seeing progress as you clean.
After brushing, wipe away any remaining suds with a clean towel and spray some MARBLELIFE Tile & Grout Cleaner to remove any lingering MaxOut.
Step 3: Sealing Your Grout Spray MARBLELIFE Tile & Grout cleaner in the grout and brush again. This “agitation” helps to open and prep the grout’s pores for sealing. MARBLELIFE Tile & Grout cleaner is a phenomenal degreaser. It is important that oils and greases are removed before sealing as we want solid contact to the surface without the oil blocking and preventing good contact. Furthermore, it is sticky oil and grease that allow dirt to stick to your grout. Break its hold and free the dirt to be removed, before you seal it in.
Using MARBLELIFE’s Grout Sealer, apply and let it soak for a couple minutes. Then simply wipe away the excess remaining on the surface. You want it IN the grout not ON the grout. That’s it! The sealer will soak into the grout’s pores and seal them preventing dirt from hiding here and discoloring your grout in the future. Its far easier to clean off what is ON your grout than what is IN your grout.
If you cannot get your grout clean, it is likely because your seal has failed, dirt is piling up IN your grout where it is difficult to get to. Have no fear, we can clean it out, provide a colorized seal capable of restoring a uniform grout appearance, and sealing to keep dirt on top for ease of cleaning going forward.
Have stone, tile or grout-related questions or concerns, contact your local MARBLELIFE office and a highly-trained stone craftsman will be happy to assist you.
Call MARBLELIFE at (888) 524-3372 or visit us online to secure your FREE ESTIMATE at www.MARBLELIFE.com or to www.MARBLELIFEPRODUCTS.com to secure the care products appropriate to your surface, and your desire for an easy effective cleaning solution.
MaxOut Deep Grout Cleaner is a specifically designed formulation that emulsifies grease and dirt from your grout. It will not harm ceramic, porcelain, Saltillo, Terracotta or stone tile.
